Starting any workout without warming up is like sprinting without tying your shoelaces—it’s risky. Warming up prepares your body for exercise by gradually increasing your heart rate and blood flow to muscles. This enhances your performance and, most importantly, significantly reduces the risk of injuries. Warming up also gets your joints moving and activates the neural pathways between your brain and muscles, ensuring better coordination during your workout. So, by incorporating a warm-up routine, you’re enhancing your performance and making your exercise safer and more secure.
10 Best Warm-Up Exercises for Beginners at Home
- Jumping Jacks
- Arm Circles
- Leg Swings
- High Knees
- Hip Circles
- Torso Twists
- Arm Swings
- Ankle Circles
- Walking Lunges
- Cat-Cow Stretch
1. Jumping Jacks
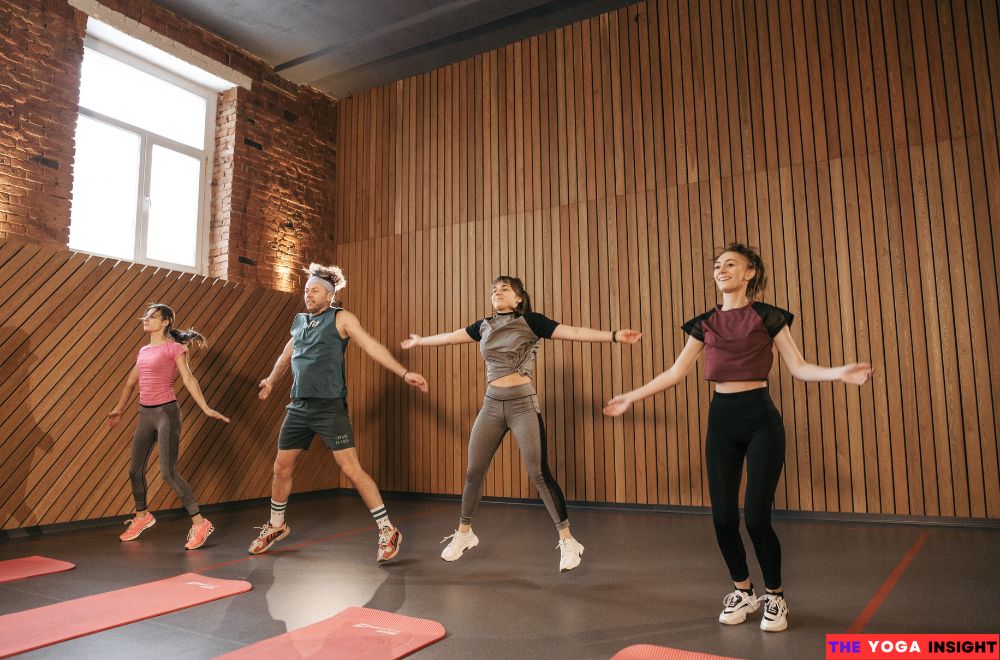
Jumping jacks are a classic for a reason. They get your heart pumping and engage almost every muscle in your body. From your calves to your shoulders, everything gets a workout.
This exercise also boosts your cardiovascular fitness. Your heart works hard to keep up, which strengthens it over time. Plus, jumping jacks are great for burning calories. They’re perfect when you need a quick but effective workout.
Step-by-Step Instructions:
-
- Start with your feet together: Stand tall with your feet together and your arms resting at your sides. This is your starting position.
- Jump and spread: Jump up, spreading your legs about shoulder-width apart. At the same time, raise your arms overhead, almost like you’re forming a star.
- Return to the start: Jump again, bringing your legs back together and lowering your arms to your sides. That’s one rep.
- Keep it going: Repeat the movement in a smooth, rhythmic motion. Try to land softly on your feet to reduce the impact on your joints.
It’s that simple! Start with 20-30 reps, and you’ll feel the burn quickly.
2. Arm Circles
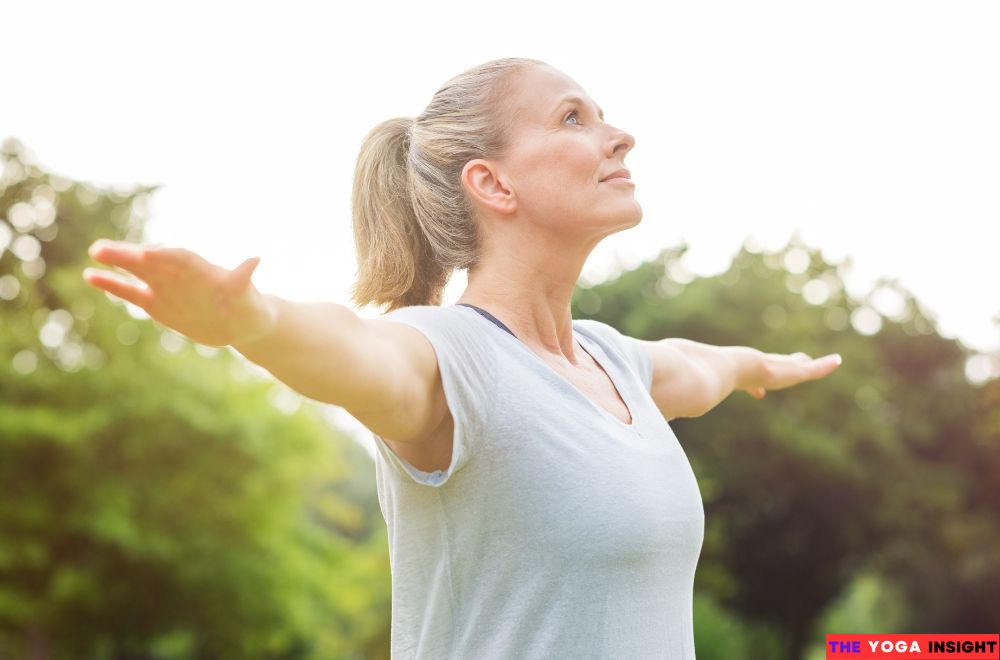
Arm circles might seem essential, but don’t let their simplicity fool you. They’re a fantastic way to warm up your upper body, improve shoulder mobility, and build endurance in your shoulder and arm muscles.
This exercise engages the deltoids, triceps, and chest and back muscles. It’s perfect for loosening stiff shoulders after long hours at a desk or before jumping into more intense workouts.
The best part? You can do arm circles anywhere—no equipment is needed.
Step-by-Step Instructions:
Here’s a quick and easy guide to performing arm circles effectively:
- Stand Tall: Start by standing with your feet shoulder-width apart. Keep your back straight and your core engaged. Imagine a string pulling you up from the top of your head.
- Extend Your Arms: Lift your arms to the sides, keeping them parallel to the floor. Your palms should be face down, and your fingers should be straight.
- Small Circles: Begin making small, controlled circles with your arms. Start by moving them forward. Make sure your movements are smooth, not jerky.
- Gradually Increase Size: As you continue, gradually increase the size of the circles. Keep your movements steady, focusing on your shoulder muscles.
- Reverse Direction: After 10-15 seconds, reverse the direction of the circles, moving your arms backward. Again, start with small circles and then increase their size.
- Repeat: Continue for 30 seconds to a minute, or longer if you’re up for it. Remember to keep breathing steadily throughout.
- Relax and Repeat: Lower your arms, shake them out, and repeat the process for another set if needed.
3. Leg Swings
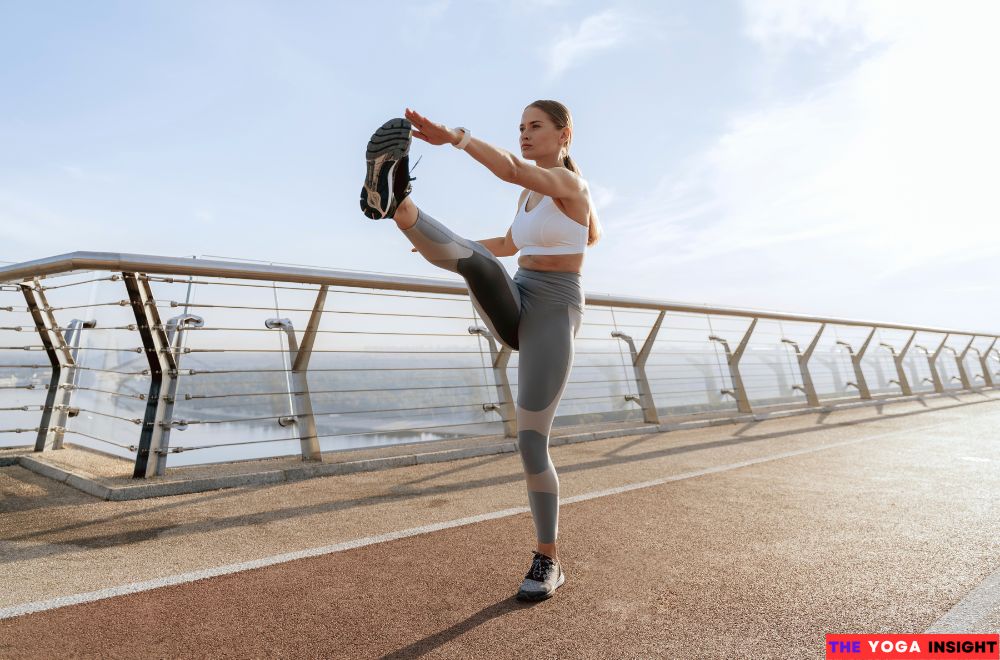
Step-by-Step Instructions:
Ready to give leg swings a try? Here’s a quick guide on how to perform them correctly:
- Find Your Balance: Stand next to a wall or something sturdy that you can hold onto for balance.
- Start the Swing: Lift one leg off the ground and swing it forward and backward like a pendulum. Keep your leg straight but not rigid—think relaxed and controlled.
- Mind the Motion: Focus on making smooth, controlled swings. You don’t need to force the range of motion—just let your leg swing naturally.
- Switch It Up: Switch to the other leg After 10-15 swings.
- Side-to-Side Swings: Once you’re comfortable with forward and backward swings, you can try swinging your leg side to side across your body to engage different muscle groups.
Remember, the key to effective leg swings is maintaining control and not rushing through the movements.
4. High Knees
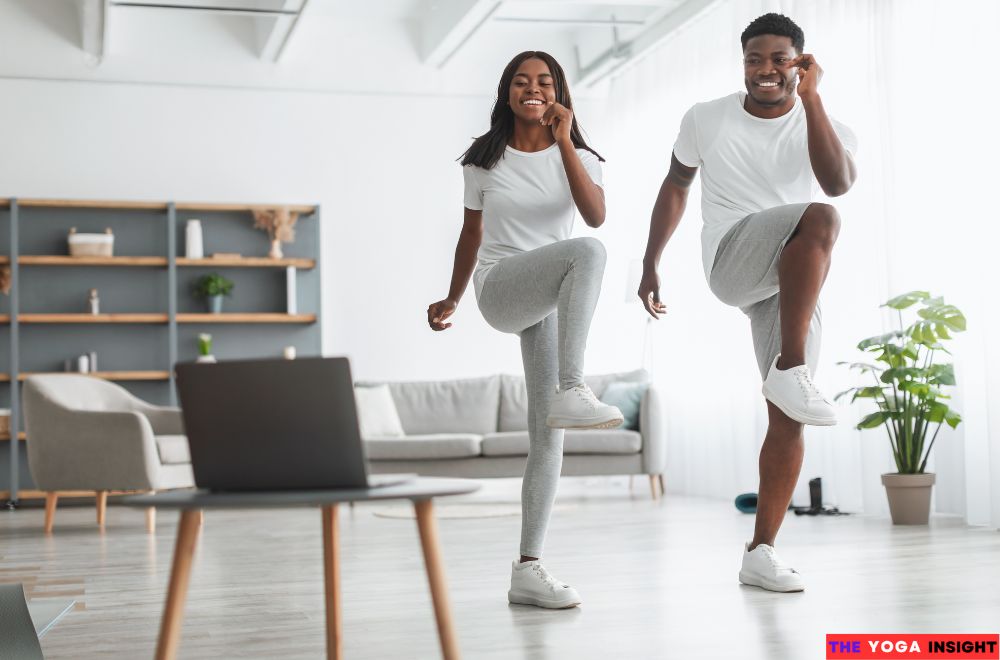
Step-by-Step Instructions:
Ready to give High Knees a go? Follow these steps to ensure you’re doing them correctly and safely:
- Stand Tall: Start by standing with your feet hip-width apart. Keep your chest up and your shoulders relaxed.
- Engage Your Core: Tighten your abdominal muscles. This will help stabilize your body as you start moving.
- Lift Your Knees: Start lifting one knee as high as possible towards your chest. Aim for at least hip height. Quickly switch to the other knee, lifting it to the same height.
- Pump Your Arms: As you lift each knee, swing your opposite arm forward. This motion helps maintain your balance and increases the intensity of the exercise.
- Maintain a Quick Pace: Continue alternating knees rapidly. The goal is to move quickly, keeping your heart rate up. But remember, form is critical. Keep your back straight and avoid leaning forward or backward.
- Breathe Steadily: Inhale through your nose and exhale through your mouth, keeping your breathing controlled even as your pace quickens.
- Time Your Reps: Aim for 20-30 seconds of High Knees for beginners. As you progress, you can increase the duration or number of sets to match your fitness level.
5. Hip Circles
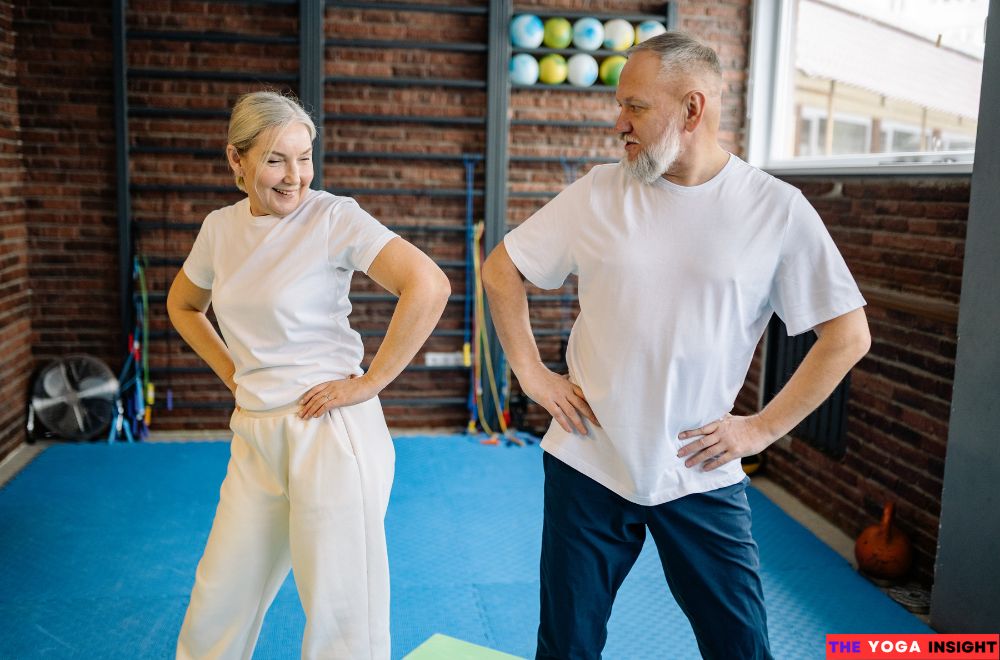
The beauty of Hip Circles lies in their ability to target and engage the muscles around your hips, which are often neglected. Your hips are the center of your body’s movement. They play a key role in everything from walking to running to lifting. Yet, they are prone to tightness and stiffness, especially if you spend a lot of time sitting.
When you perform Hip Circles, you move your hips and wake them up. This exercise works by loosening the hip flexors, glutes, and lower back muscles. It increases the range of motion, helping you move more freely and reducing the risk of injuries, particularly in the lower body.
Step-by-Step Instructions:
- Start Standing: Stand with your feet shoulder-width apart. Keep your knees slightly bent and your hands on your hips.
- Engage Your Core: Tighten your abdominal muscles slightly. This will help you stay balanced and stable throughout the movement.
- Begin the Circle: Slowly move your hips in a circular motion. Start by pushing your hips out to the side, then move them forward, to the opposite side, and finally backward.
- Smooth Movement: Make sure the movement is smooth and controlled. Avoid jerky motions. Your upper body should stay relatively still, with the movement concentrated in your hips.
- Change Direction: After completing a few circles in one direction, reverse the motion and perform the circles in the opposite direction.
- Reps and Sets: Aim for 10-15 circles in each direction. One set is usually enough if you use this exercise as a warm-up. If you’re focusing on mobility, consider doing 2-3 sets.
6. Torso Twists
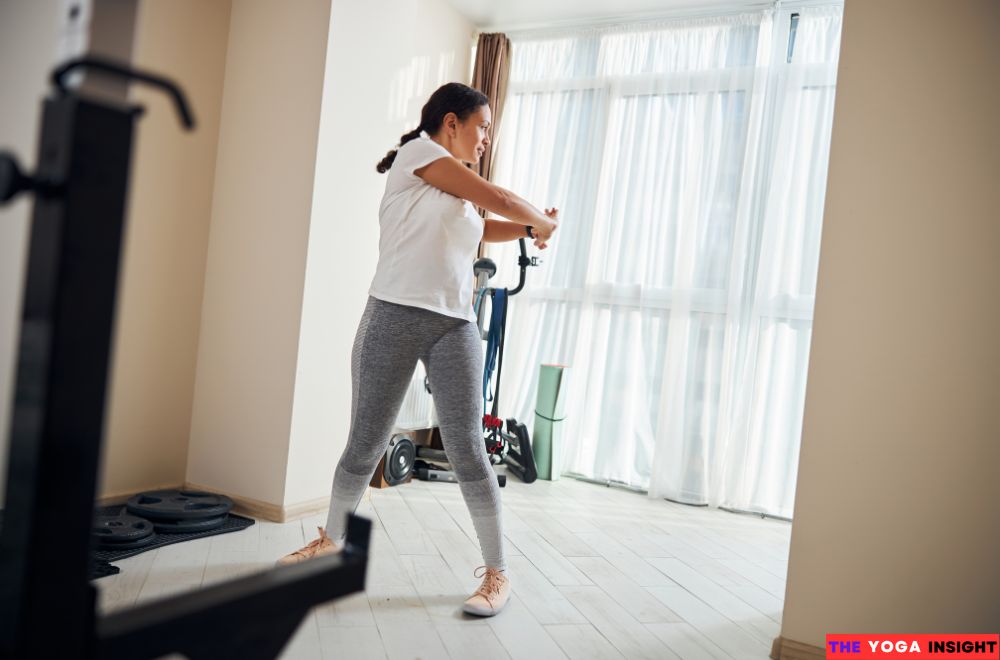
This move targets the core muscles, specifically the obliques, crucial for stability and balance. When you twist your torso, you’re not just working the muscles on the side of your abdomen. You’re also engaging your lower back, shoulders, and hips. This makes Torso Twists a fantastic full-body exercise, helping to improve your posture and reduce the risk of injuries.
Step-by-Step Instructions:
Ready to give Torso Twists a try? Here’s how you can do it:
- Stand Tall: Begin by standing with your feet shoulder-width apart. Keep your knees slightly bent to avoid straining your lower back.
- Engage Your Core: Tighten your abdominal muscles as if you’re bracing for a punch. This ensures that your core stays activated throughout the movement.
- Extend Your Arms: Stretch your arms before you, palms facing down. This position will help you maintain balance as you twist.
- Twist to One Side: Slowly rotate your torso to the right, keeping your hips facing forward. Try to twist as far as is comfortable without forcing the movement.
- Return to Center: Bring your torso back to the center, keeping your core engaged.
- Twist to the Other Side: Now, rotate your torso to the left. Again, move slowly and with control.
- Repeat: Depending on your fitness level, twisting for a set number of repetitions, usually 10-15 per side.
7. Arm Swings
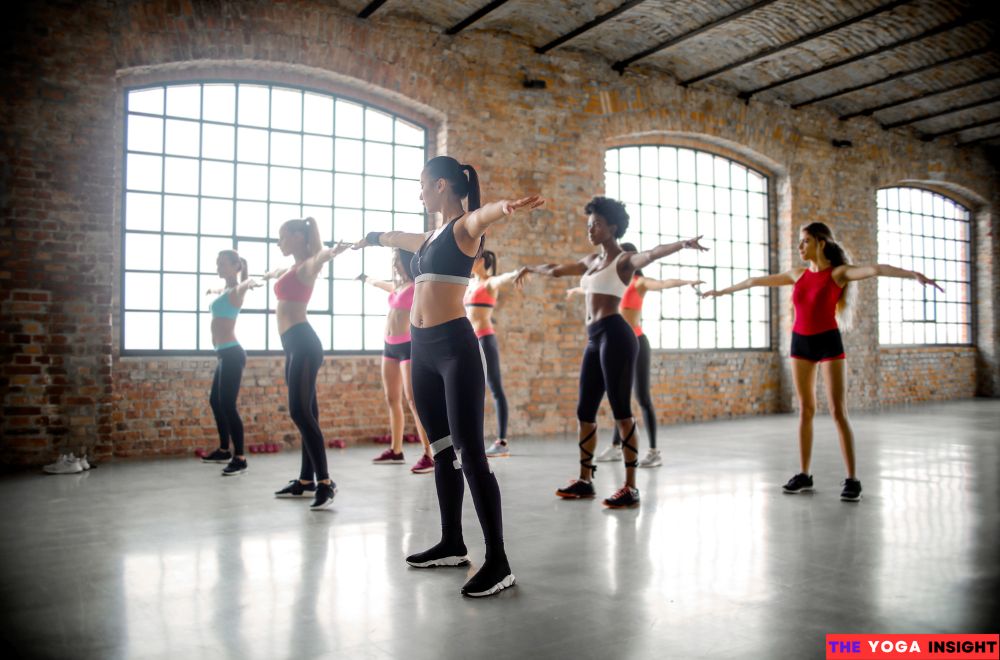
Step-by-Step Instructions:
Now that you know why Arm Swings are practical, let’s explain how to do them correctly.
- Step 1: Stand with your feet shoulder-width apart. Relax your arms by your sides.
- Step 2: Begin by gently swinging your arms forward and backward in a controlled motion. Your arms should move in opposite directions—one forward, one backward.
- Step 3: As your arms swing, allow your torso to rotate slightly to follow the motion. This will naturally engage your core.
- Step 4: Keep the movement smooth and steady. Avoid jerky motions or overextending your arms.
- Step 5: Continue swinging for 30 seconds to a minute, gradually increasing the speed as your body warms up.
- Step 6: To finish, gradually slow down your swings until your arms return to a resting position by your sides.
8. Ankle Circles
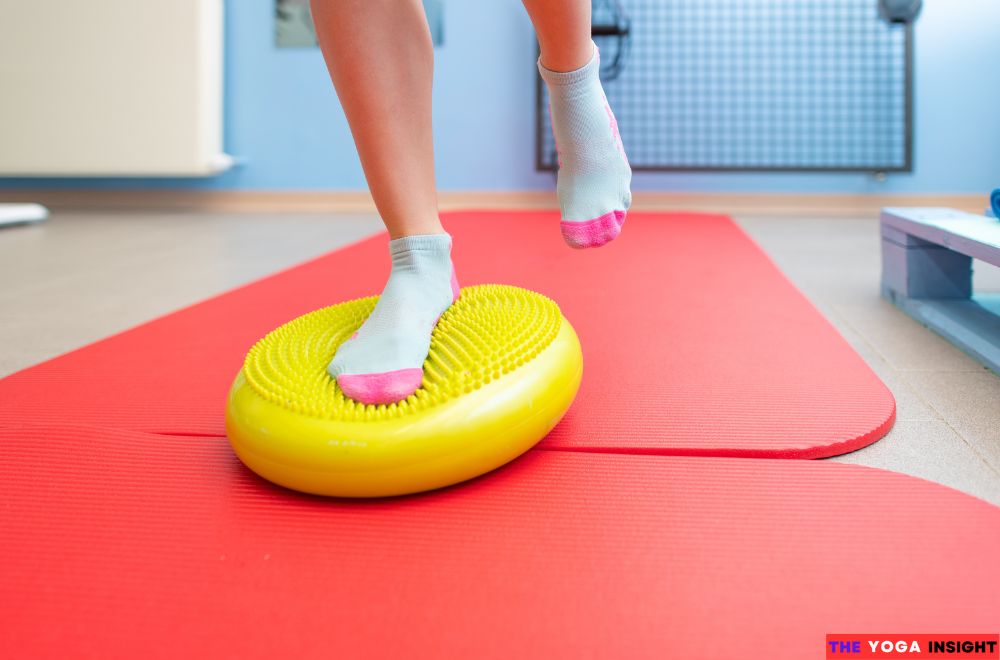
Ankle Circles are like a reset button for your joints. This exercise helps to improve the range of motion and strengthen the muscles around your ankle. Moving your foot in a circular motion engages the muscles, tendons, and ligaments that stabilize the joint.
Step-by-Step Instructions:
- Find a comfortable position: You can sit or stand, whichever feels more comfortable. If you’re standing, ensure you’re balanced, possibly holding onto a chair for support.
- Lift one foot off the ground: Start lifting one foot slightly off the ground, keeping your leg steady.
- Begin the circles: Slowly rotate your foot in a circular motion. Start with clockwise circles, making sure to keep the movements smooth and controlled.
- Switch directions: After about 10 rotations, switch to counterclockwise circles.
- Repeat on the other foot: Once you’ve completed the circles on one foot, switch to the other.
- Pay attention to your range of motion: Make the circles as wide as possible without causing discomfort. This will maximize the benefit to your ankle joints.
- Breathe naturally: Keep your breathing steady throughout the exercise. This helps maintain focus and rhythm.
9. Walking Lunges
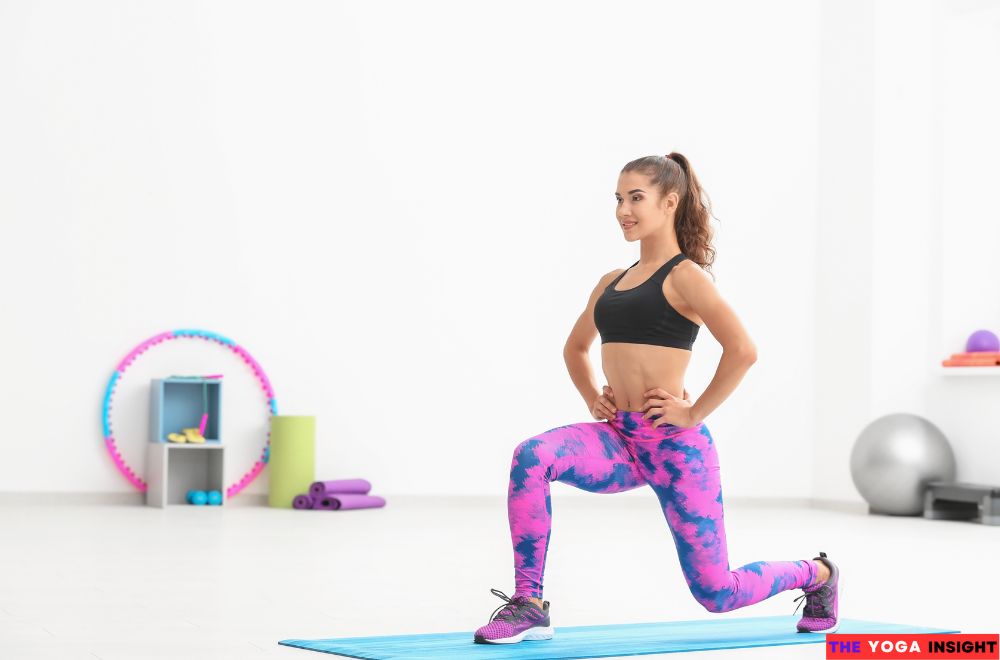
Walking lunges are a fantastic way to strengthen your legs, glutes, and core. They work your quads, hamstrings, and glutes, engage your core, and help improve your balance. It’s like getting multiple workouts in one smooth move. Plus, because you’re moving forward with each step, you’re adding a functional element similar to everyday activities, like walking up stairs or carrying groceries.
Step-by-Step Instructions:
- Start Position: Stand tall with your feet hip-width apart. Your hands can be on your hips or down by your sides.
- Take a Step Forward: Take a big step forward with your right foot, planting it firmly on the ground.
- Lower Your Body: Bend both knees to lower your body. Your back knee should hover just above the ground, and your front thigh should parallel the floor.
- Push Through: Push through your right heel to stand back up, and bring your left foot forward to meet your right.
- Repeat: This time, continue moving forward with your left foot and alternate legs as you move across the room.
- Keep it Controlled: Focus on keeping your movements slow and controlled. This isn’t a race; rushing through it can lead to poor form and injury.
10. Cat-Cow Stretch
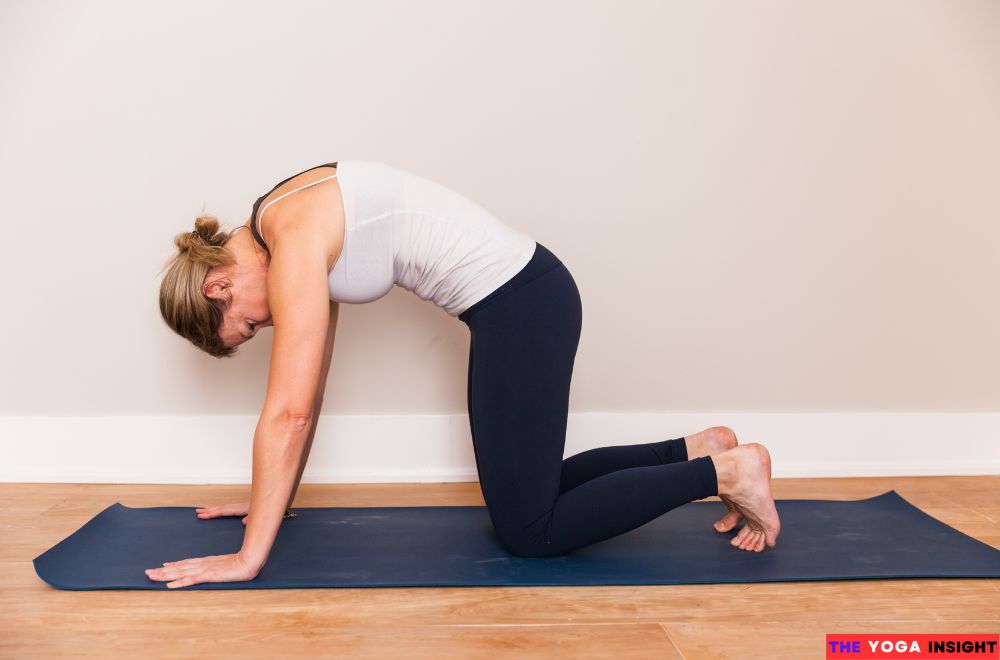
The Cat-Cow Stretch is more than just a warm-up exercise. It’s a dynamic movement targets your spine, shoulders, and hips, making it a powerful tool for combating back pain and improving flexibility. Picture your spine as a chain. Sitting or standing for long periods compresses that chain, leading to stiffness and discomfort. The Cat-Cow Stretch acts as a gentle pull, helping to loosen each link in that chain.
Step-by-Step Instructions:
Here’s how you can start practicing the Cat-Cow Stretch right now:
- Start on All Fours: Get down on your hands and knees. Align your wrists directly under your shoulders and your knees under your hips. Keep your back flat, your head neutral, and your gaze toward the floor.
- Inhale and Move into Cow Pose: Drop your belly toward the mat as you take a deep breath. Lift your head and tailbone towards the ceiling, creating an arch in your back. Feel the stretch along your spine.
- Exhale and Transition to Cat Pose: Draw your belly button towards your spine as you breathe. Round your back towards the ceiling, tucking your chin to your chest. Let your tailbone drop.
- Repeat: Flow between Cat and Cow poses, matching the movements with your breath. Move slowly and with control. If you feel particularly tight, perform this stretch for 5-10 breaths or longer.
Tips for Making the Most of Your Warm-Up Routine
Consistency is Key
Make it a routine to get the most out of your warm-up. Warming up prepares your muscles for the work ahead and can help prevent injuries. It doesn’t have to be lengthy—five to ten minutes is enough to prepare your body.
Listen to Your Body
Every day is different. Some days, you might feel stiff or sore, while others, you might be full of energy. Adjust your warm-up accordingly. If you’re feeling tight, spend a little extra time on stretches and mobility exercises. If you’re feeling great, you might want to incorporate more dynamic movements to match your energy levels.
Read More: 10 Best Full Body Intense Cardio Workout at Home
FAQs
How long should I spend warming up?
For beginners, a 5 to 10-minute warm-up is usually sufficient. The goal is to get your heart rate up and your muscles ready for exercise.
Can I skip the warm-up if I’m short on time?
It’s best not to skip the warm-up, even if you’re pressed for time. A proper warm-up can help you perform better and reduce the risk of injury.
Should I stretch before warming up?
It’s better to warm up before doing static stretches. Start with dynamic movements to get your blood flowing, then move into stretching if needed.
What if I feel pain during my warm-up?
Stop the exercise immediately if you experience pain (not to be confused with discomfort). Pain could be a sign of an underlying issue that needs to be addressed.
Final Thought
Incorporating these warm-up exercises for beginners into your home routine is a simple yet effective way to prepare your body for more strenuous activities. Remember, the goal of a warm-up is to ease your body into exercise, so take your time and listen to what your body needs.
Warming up might seem like an extra step, but it’s essential to any workout routine. It sets the stage for success and helps you avoid unnecessary injuries, ensuring you’re ready to tackle your exercise goals head-on.


